Crazy Books - How To

Updated: Sep 13
What is a Crazy Book?
Crazy books are a mini accordion book with front and back hardcovers, and are secured by ribbon. The book can also fold out to become a full sheet of paper. Since there is no bound book spine, Crazy Books are a great way to keep your hands busy and introduce yourself to book-making. This week in class, we created these crazy books together as a way to build relationships among peers, observe ways to give instruction, and become in sync with each other.

Completed and unfolded Crazy Book

Completed Crazy Book in "Book" form
Materials
For creating the Crazy Book, you will need:
8.5" x 11" Construction paper - color of choice
Color or patterned paper of choice - at least 28 square inches
2, 2.5" x 3" pieces of cardboard
2ft of Ribbon - color of choice
Uhu stick
Bone folder tool
Scissors
Cutting mat (optional)
Helpful Tips for Getting Started
This project involves quite a bit of folding. It is very important to ensure the each fold aligns, and the creases are completely flat. Below are the folding steps that will be used throughout the process. Follow these steps every time the instructions direct you to fold the paper.
Bring one edge to the other while taking your time to line up the corners with each other

Rather that making a crease across the whole fold, just pinch the center of where you intend your fold to be

Using the bone folder tool, crease the rest of the fold

Unfold the paper and flip it to the other side
Redo the fold so that it as been creased on both sides with the bone folder tool, then unfold the paper again. This will ensure that the paper can fold both ways without issue
Repeat the process with each fold that is instructed
Crazy Book Instructions
Now that you have the required materials and know the best way to fold, let's make some crazy books!
Start with the 8.5"x11" construction paper placed in portrait orientation and your bone folder tool. Fold the paper in half, hamburger style - short edge to short edge following the folding instructions
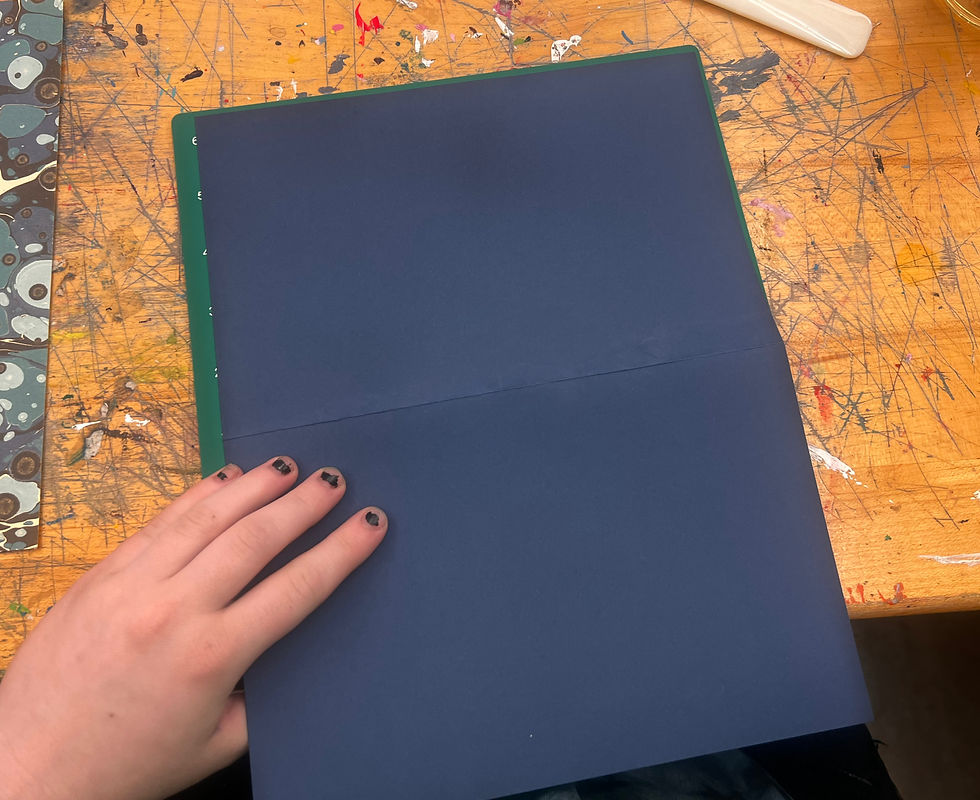
With the paper still in portrait orientation, fold the bottom-most short edge up the the middle crease that you made in step one - following the folding instructions

Rotate the paper 180 degrees, and repeat step 2
After completing steps one through three, you should have a paper with three creases and four equal sections

Now, rotate your paper in a landscape orientation. Fold the paper in half, hotdog style - long edge to long edge following the folding instructions

With the paper still in landscape orientation, fold the bottom-most long edge up to the middle crease that you made in step five - following the folding instructions

Rotate the paper 180 degrees, and repeat step six
After completing steps five through seven, you should have a paper with twelve equal-rectangle sections

With your scissors, cut along the fold creases as pictured. You should end up with a spiral-like result

Fold up the paper along the spiral pattern like an accordion, and set it aside


Next, grab your patterned paper and cardboard pieces. Set the paper with the pattern down. The pattern you choose will be the cover of the crazy book
Using the uhu stick, glue the cardboard pieces on the blank side of the pattern paper. Make sure that each cardboard piece has at lease a half inch of paper border. This border will be folded back into the cardboard piece later on

Using your scissors, cut the paper around the glued pieces of cardboard while still ensuring there is at least a half inch of paper border. Set one cardboard piece aside.

On each corner of the paper border of the cardboard piece, fold the paper corner in so there is a right angle on each side. Use the bone folder tool to complete the crease

Now that the paper on each corner is trained, fold each side of the paper into the cardboard piece

Once all corners and sides are creased, glue them down onto the cardboard piece in the same order that you made the folds in steps 14 and 15
Repeat steps 14 through 16 onto the other cardboard piece. Now you should have to identical pieces of pattern-covered cardboard. Choose one to be your front cover, and one to be your back cover

Once you have identified your back cover piece, apply an area of glue across the middle in a horizontal line, about the same width of your chosen ribbon
Identify the middle of your ribbon, and glue it on the back cover piece in the area that the glue was applied

On your piece of folded accordion paper, apply glue onto one of the ends and apply it to the back cover, while ensuring there is equal space across all four edges

Repeat step 20 with the other end of the folded accordion paper

Once the glue is dried, you should be able to fold out the crazy book back into a 8.5"x11" paper

Once step 22 is confirmed, fold it back up and tie a bow over the top of the book with the ribbon to secure your crazy book

Congratulations! You made a crazy book! Fill it with one big design, a bunch of little sketches, or whatever else you want to create on the pages.


Comments